Conductive Bracelet
An impressive hands-on experiment to learn about electronics fundamentals and turn them into wearable non-sew luminating bracelets. Students will learn about the fundamentals of electronics, basic electronic components, and applications of electronic circuits. It will also help students to understand the making of circuits and handling components.
Steps of Construction
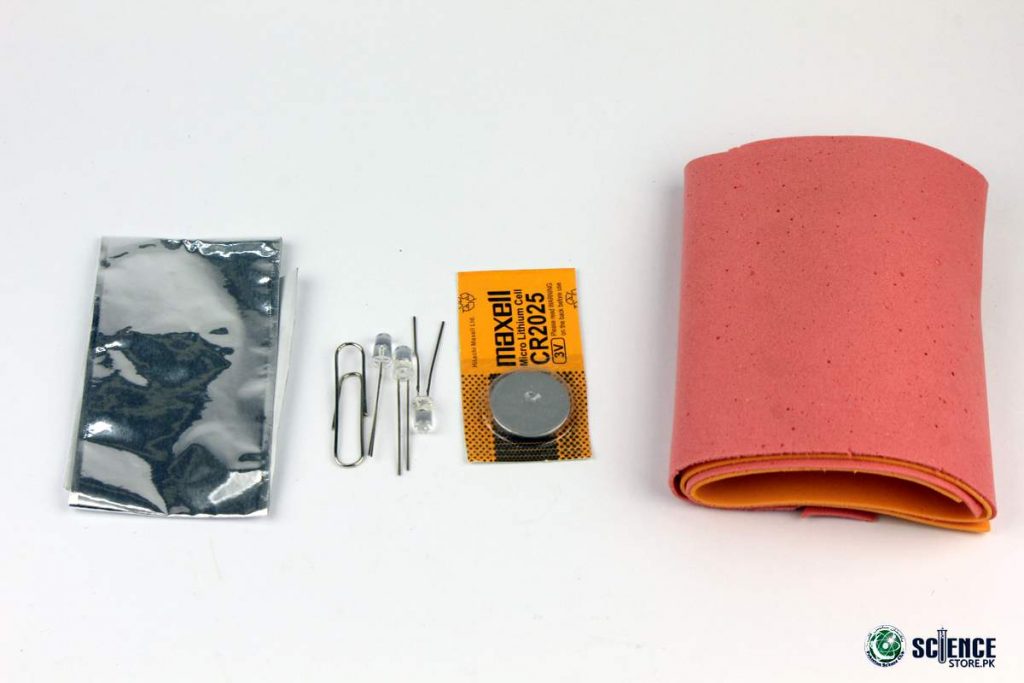
Required Material:
- Aluminum Tape
- LED
- Paper Clip
- Coin Battery
- Fomic sheet
Note: Material Available at sciencestore.pk Conductive Bracelet
Steps to Make
- Take a fomic sheet strip of 3 × 9 inches that will be base of the bracelet.
- Leaving 1 cm from the length of the strip, make a slit cut along the width with half cm uncut from both ends, with the distance of 1 inch make another cut with 2 cm uncut from the similar end.
- Make 3rd slit cut at the distance of another 1 inch with 3-4cm uncut ends on the width.
- On the other end of the fomic sheet strip, make a tapered shape with a slight diagonal so that it could be fixed in the slits, as shown below.
- Choose another color fomic sheet to make any design of your choice such as any flower, logo, etc., and make it.
- With your design ready, insert LED in the middle of it and fix the design with a glue gun at the center of the strip with LED passing through the strip.
• Bend the legs/terminals of the LED in the opposite directions while keeping in mind the positive and negative sides. - Cut 3-4 strips of aluminum tape for circuit making.
- Fold an end of the aluminum tape (about 0.5 cm) in such a way that it sticks to itself, put this folded end on the LED terminal and stick it with another piece of tape as following,
- Stick the tape as shown to complete the circuit, make sure that tape should not break in the middle of making so our bracelet will work fine.
- Stick the coin battery negative side to the negative terminal of the circuit using glue gun.
- Your bracelet is now ready, the positive terminal will come over the respective side of the coin cell when the bracelet will be tied up to the wrist, you can use the paper clip to hold the ends to continue working.
Live Session Recording