Make a Simple DC motor with easy and Step by Step instructions
The project mainly describes the concept of electromagnetism, the working principle of the phenomenon and its application in various appliances. DC motor is commonly used in toys for the conversion of electrical energy into mechanical energy to drive them. Students will make their own simple DC motor that will help them to decipher the laws of electromagnetism, its application, designing and working of it.
Material Required for making of Simple DC motor
- Copper Wire Gauge 26-30
- Magnet
- 2 Paper Clip
- Paper Tape
- 2 Battery cell (1.5 volt) and battery holder.
- Scissors
- Plier
- Piece of 1inch Diameter PVC Pipe
- 4×4 Inch Wooden Piece / Hardboard
- Connecting Wires
Steps of Construction
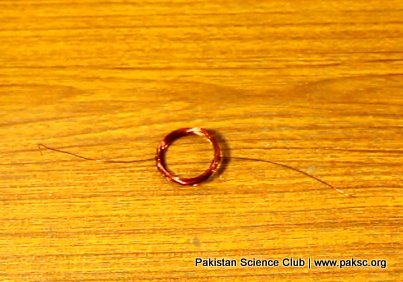
- Take a piece of PVC pipe and make 50 turns of copper wire on it leaving 3 inches from both the ends oppositely.
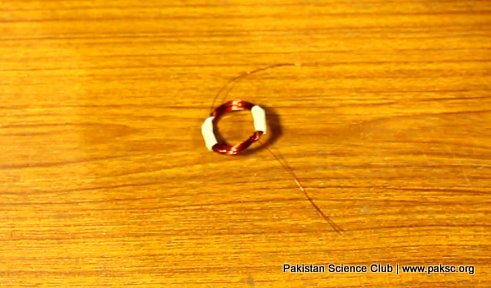
- Pull out the coil, twist the ends in exact opposite direction 2-3 times on coil so that it may not get unwound and stick paper tape to it.
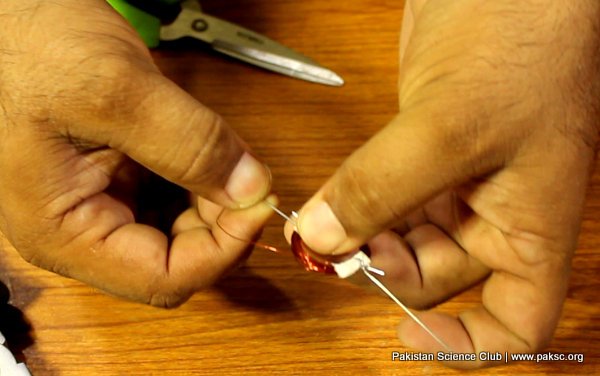
- Rub the ends of copper wire with the help of scissor to take off its coating or lamination.
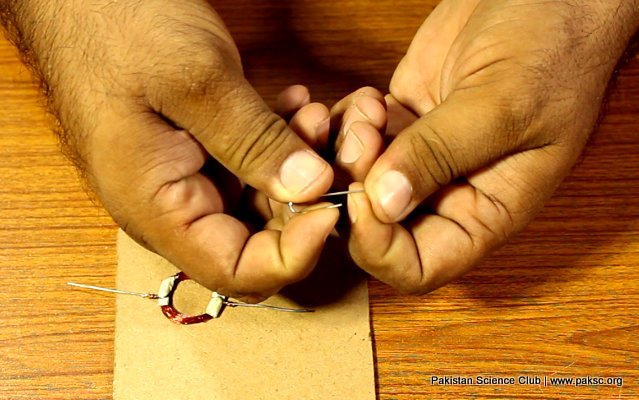
- Take 2 pieces of thick copper / steel wire about 3 inches and wound them oppositely on the tape using pliers.
- Twist the copper wire of coil on it firmly.
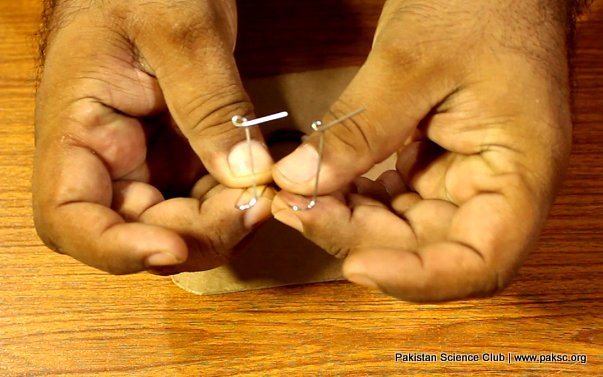
- Take two paper clip and make the stand as shown:
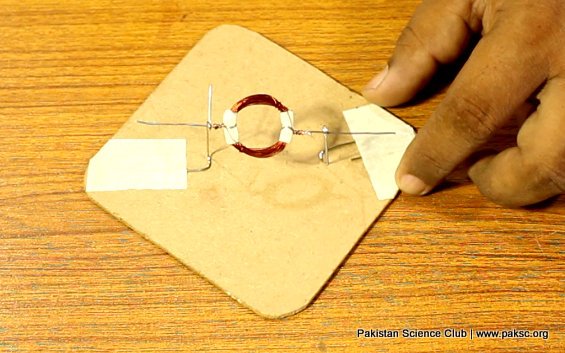
- Make two stand to hold the coil approximately half inch above the hardboard base.
- The stand must allow to rotate the coil freely from the ends.
- Arrange the clips on the hardboard and fix them with the help of paper tape.
- With the help of connecting wires, join one side of stand to the negative terminal of the battery holder and other side to the positive terminal.
- Put the batteries in the case, place the bar magnet below the copper coil and give it a slight spin.
- Simple DC motor is now ready.


