After reading this article you will able to made DIY Van De Graaff Generator Using PVC pipe and other household item like round steal bowl (Metal Sphere) AC motor and electric tape.
DIY Van De Graaff Generator Using PVC pipe
Introduction:
Van de Graaff generator is also known as particle accelerator. It uses moving belt to accumulate and transfer the charges on the hollow metal cylinder. It creates high potential difference (volts) by static charges and hence ionizes the air around. Triboelectric effect is used to produce charges that can be simply described as when two dissimilar materials came in contact with each other, some electrons transfer from one surface to another surface.
Material List
- PVC Pipe 0.5" X 2 ft
- 4 PVC Elbow
- 2 Tee (PVC)
- PVC pipe as lower Roller 0.5"X4"
- PVC pipe as upper roller 2"x4" Fixed Roller
- Metal Sphere
- Teflon Tape
- AC/DC motor (100 rpm)
- Wire brush
Making of Van De Graaff Generator with PVC Pipe
Basic Structure
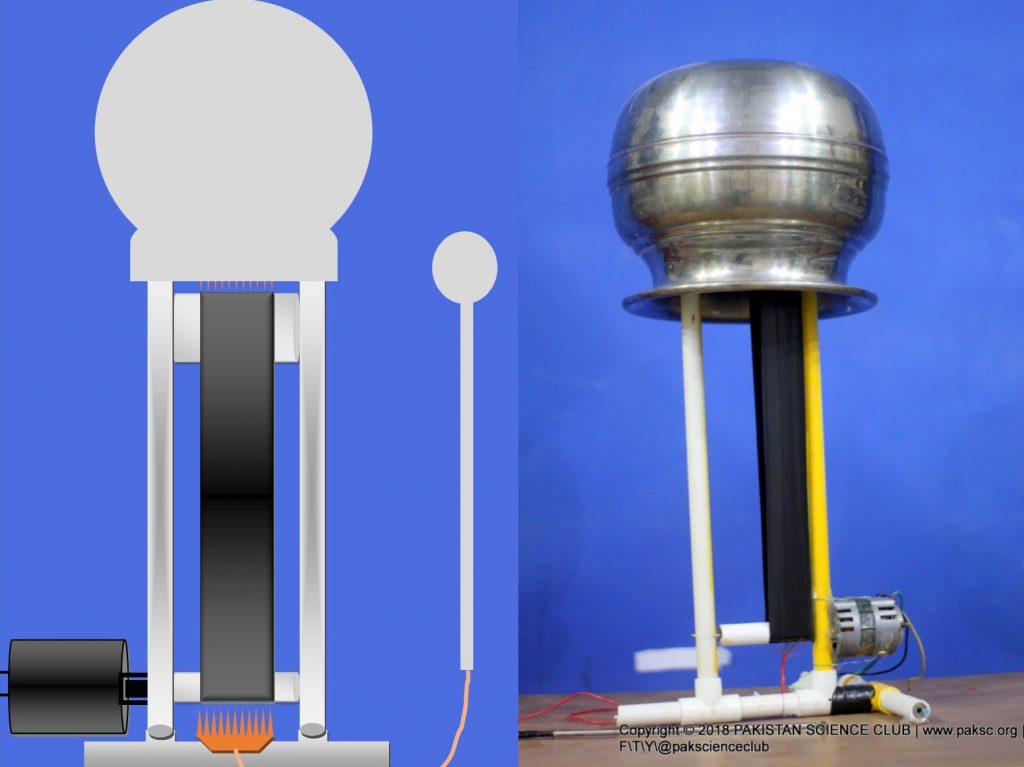
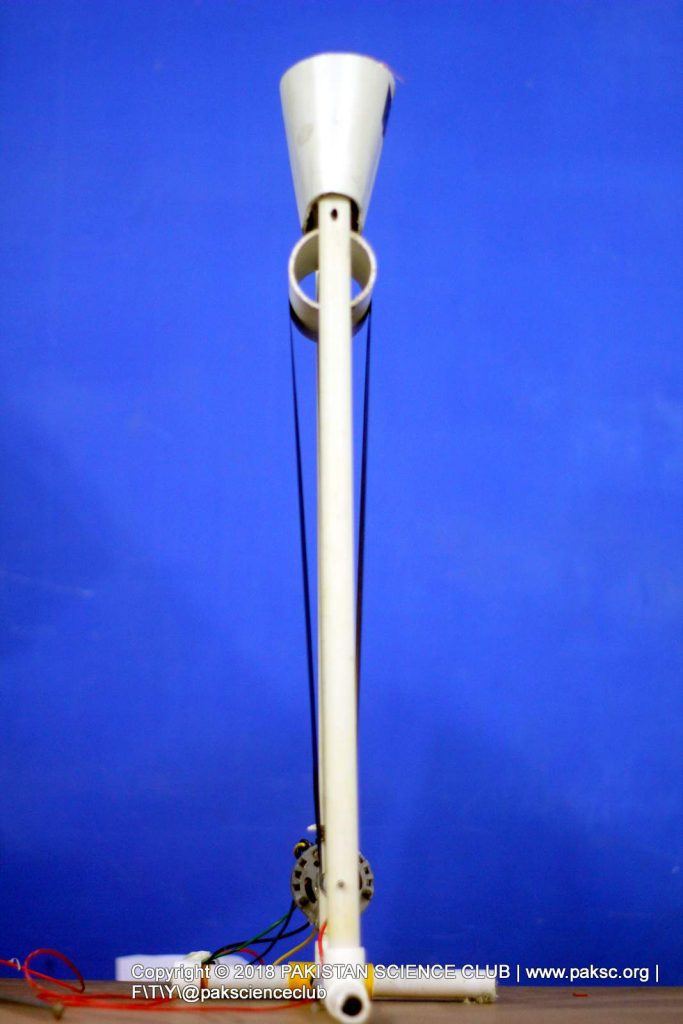
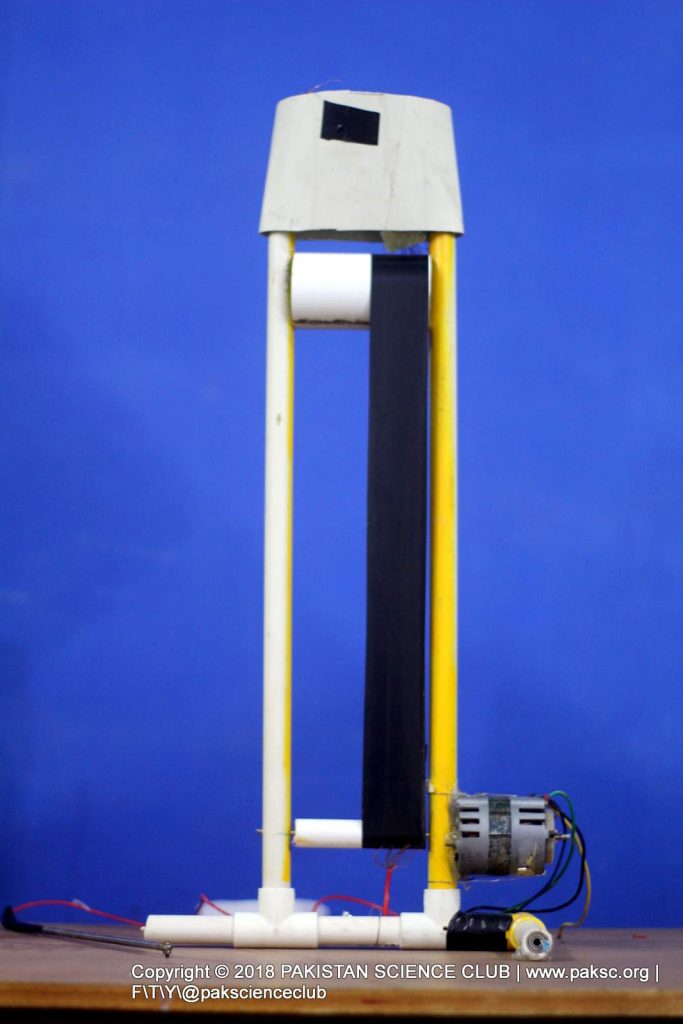
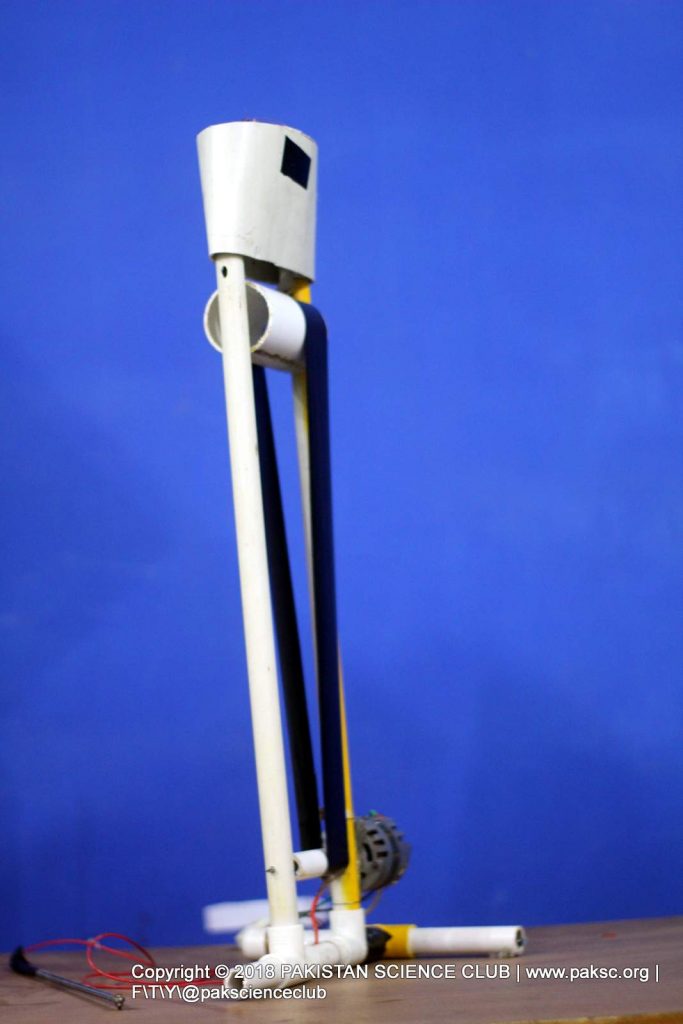
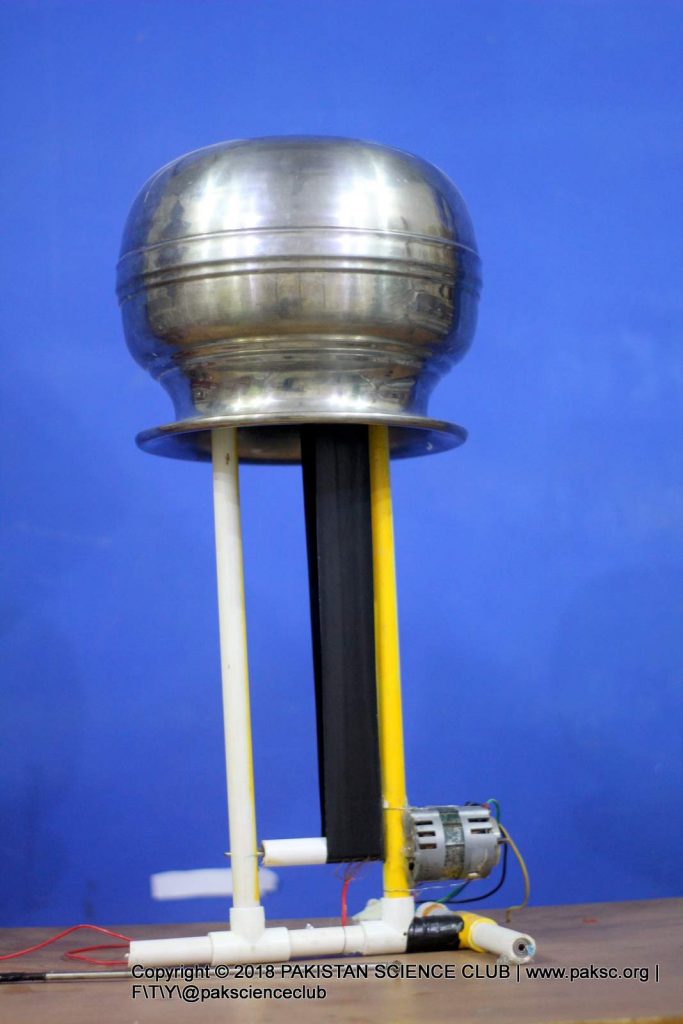
The basic structure of the Van De Graaff generator is made of 0.5” PVC pipes including tee and elbows. We have used 20 Watt AC motor to drive its roller. The lower roller has been made with half inch diameter PVC pipe, the upper roller has been made with 2 inch diameter PVC pipe and is fixed. On the top, we have fixed a piece of 4 inch PVC pipe so that we will be able to put Steel pot over it which serves as hollow metal sphere.
Making of Charge Transfer Mechanism
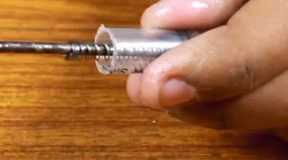
- At the base, we have made a brush of thin copper wires from a thick electric wire.
- The brush is set beneath the roller and belt so to ground or discard negative charges.
- We have connected the other terminal of this wire with a steel rod. The reason is, since negative charges has been producing at the lower end and positive charges at the upper end so these negative charges has been drained out using the metal rod or it can be used for testing and experiments as well.
- The lower roller is directly connected to the shaft of motor.
- The belt is made of using an electric tape that can be easily found on any hardware store, the size or width is 2 inches so we have made a 2 inch wide belt out of it.
- At the top, the 2 inch upper roller is fixed. The reason of fixing this one is when belt will move around, the friction will be caused between belt and roller and it will produce static charge on it.
- Likewise bottom one, we have made another wire brush by taking out copper wires from an electric wire. It has been set above the belt so to draw charges through the wire to be accumulated on the steel pot.
Charge Accumulator
Another most important part is its Charge Accumulator or Charge Storage Ball. It should be made of steel having a rounded structure with no sharp edges. Somehow, it is difficult to find a complete sphere so we have used a big steel pot. The other terminal of upper wire brush should be in contact with the pot so to accumulate all the positive charges.
Steps of Construction
Efficiency factors of Van De Graaff Generator
There are two most important things on which the performance of Van De Graaff generator depends.
Material of Construction
It should be of two different types or nature. As Electric tape & PVC pipes both have different nature so when they slide over each other, friction is produced that causes the production of Static Charges, these charges are then transferred to separate poles.
Environment or Humidity
If percentage of humidity in environment is more than 80% then it will not work properly and if the humidity is equals or less than 50%, its working will be better and if the humidity level falls below at 10%, the efficiency will be greatly improved so you will be able to see the spark clearly.
Working of Van De Graaff Generator
When we turn ON the motor, the belt start moving. If it does not start moving, it is due to the high friction on the top roller so we will give it a slight push. Once it will start moving, it will rotate continuously. A problem that may arise when we start the generator is it might get stick on the roller. This is due to the layer of oil or dirt that forms on the roller.
As soon as it gets started, you can feel the effect around you and the hairs on your hand and head may rise. To observe it more clearly, take a small bulb which is used in iron as an indicator and simply known as Neon bulb. If we take it closer, you can observe a red glow. The intensity of glow may vary by changing distance of the bulb. By the method, we can also find at which point the field intensity is stronger. It can be seen that the charge has accumulated at the top. It can be easily felt by the spark and sound that is being produced when we bring steel rod near the pot.
We can also check it by using paper strip, it is attracted by the pot and is repelled when we brought the rod near to it. As rod contains negative charge and pot is positive so they neutralizes the effect or get discharged.
Things to keep in mind
When you start making this project, you will definitely face some difficulties.
- One of the main problems is the choice of suitable material.
- Secondly, the rollers must be well balanced
- The last thing is to choose a motor. If you don't have an A.C motor, you can use a DC motor with at least 1000 rpm. You can easily find it in small electric 12 volts DC fans.
Note
If the generator does not work properly, kindly keep in mind two things.
- First thing is to check the environment. Note the humidity at the workplace or environment. If the humidity is greater in the air, it won't work properly.
- Second thing to care about is its both terminals. The wire brush that is connected the steel rod must be hold firmly just below the belt at lower end. The upper brush whose terminal is in contact with the steel pot must be right at the top of the upper roller.
Photos of Van De Graaff Generator
Video of DIY Van De Graaff Generator Using PVC pipe
Video Hosted on Pakistan Science club YouTube channel @pakscienceclub language of this video is Urdu with English subtitle presented by Abdul Rauf
See Also:
Wireless electricity transfer project
How to Make AC generator “Permanent magnet alternator” from old Hard disk drive magnets
How to build an alternator AC generator (Urdu Video)
Download: https://paksc.org/pk/download/3238/
DIY Van De Graaff Generator (98 downloads )DIY Van De Graaff Generator Using PVC pipe


