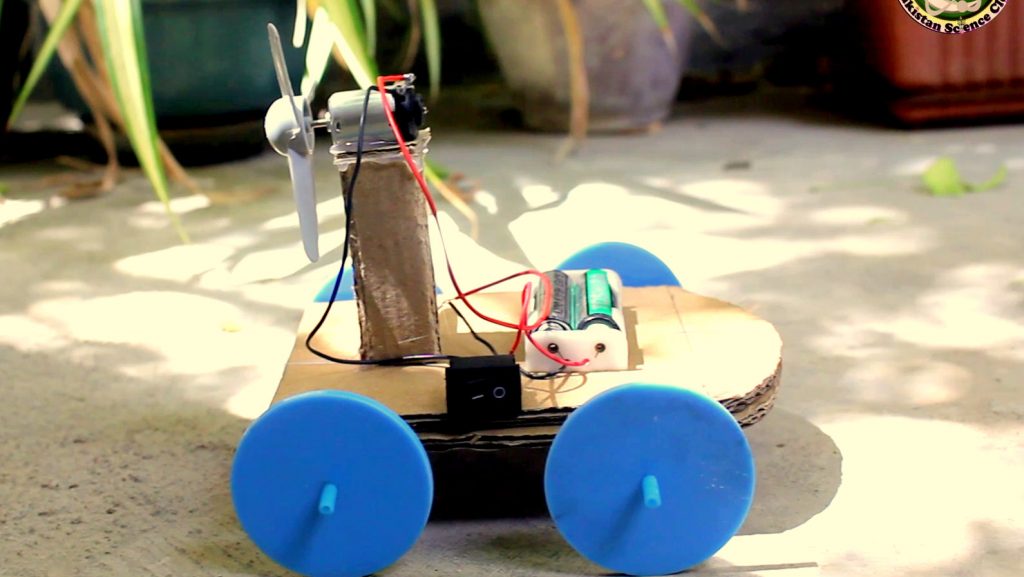
How to make air propeller car | STEAM science project
In this project, we will learn how to make air propeller cars using basic techniques. This project is great for a maker space or mechanical engineering challenge at school, library, or home.
Once you learn the basics, you can experiment with different body styles and designs to make your car go faster. You can also set up a competition between friends to see who can build the fastest rubber power propeller car. Make STEM education fun!
Materials Needed
The good thing about this project is that you can get most of your “car” parts from the trash. You can use recycle bottles, ice cream sticks, and many trash items to create the body of your propeller car. Get creative!
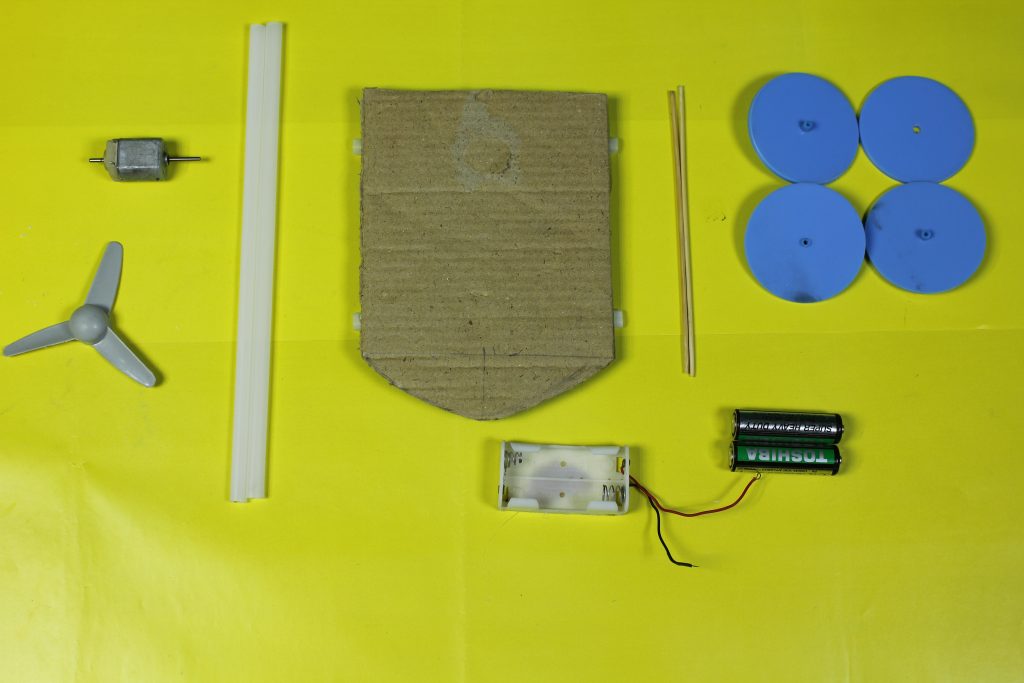
For this project, you will also need the following materials:
• Straws
• Kabab sticks
• Switch
• Cardboard
• AA battery cell
• AA battery holder
• toy car motor
• propeller
Required tools:
• Glue gun
• Knife cutter
• Scissor
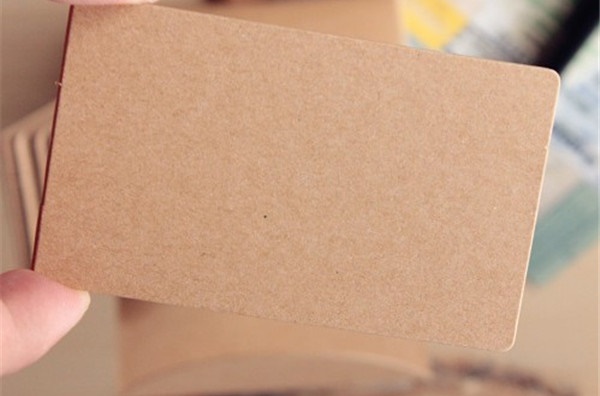
Step 1: Car Body
The first thing you need to do is to measure the cardboard of approximately 4-inch″ wide x 6-inch″ long. This section will be the base of the car.

cut the measured pieces

paste both the cardboard on one another

Step 2: Attach the axle
Paste the straw on the base of the car. Make sure the straws are wider than the base which will help the wheels from the contacting cardboard.
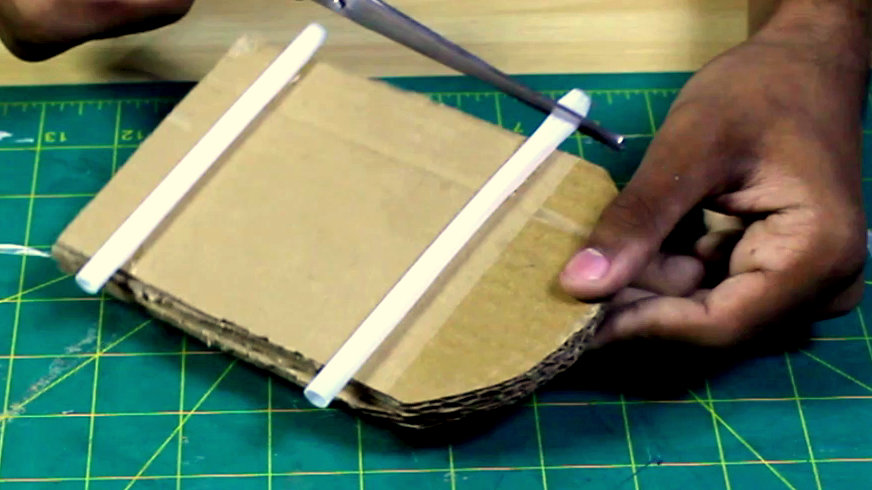
Pass the kabab stick into the straws leaving about an inch sticking out.
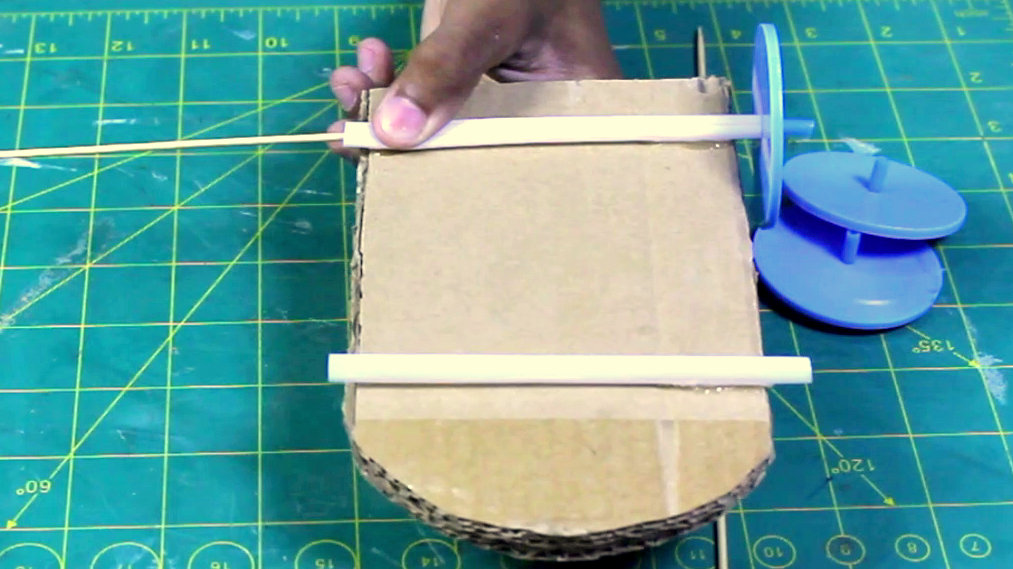
Step 3: Mount the wheel
Now it’s time to mount the wheels on the axle of the propeller car. If the wheel is a little loose, you will need to add hot glue to the middle. Make sure the wheels are kept as straight as possible while the glue is hardening.

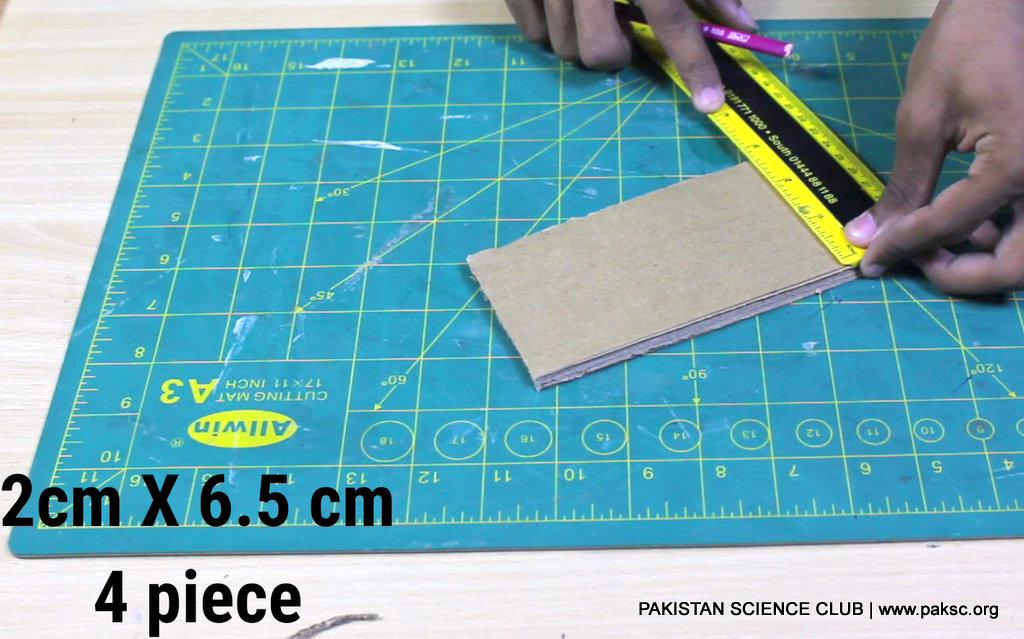
Step 4: Add and make Motor Platform
Take the other cardboard and mark the 2cm” wide and 6.5cm” long 4pieces
bend the four pieces to make cube shape
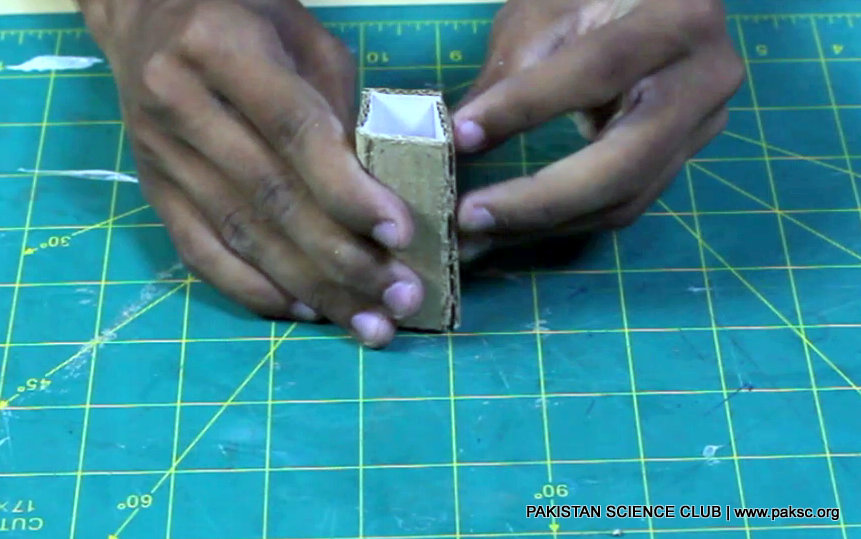
then paste on the car base

Step 5: Attach Battery holder, switch and Cell
Use hot glue, mount your battery holder, and cell to one end of the car.
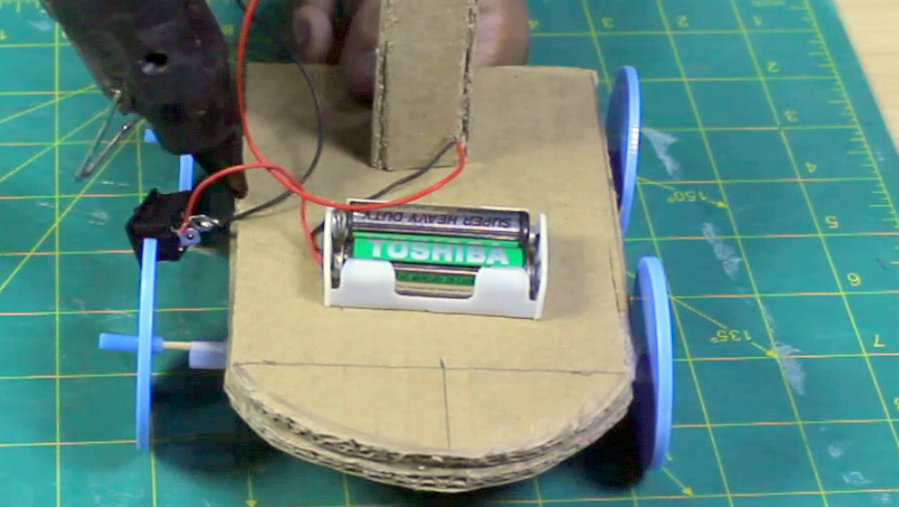
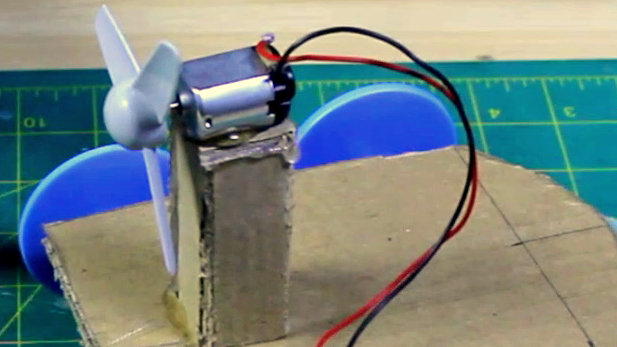
Step 6: Mount the motor
attach the motor on the motor platform, by the help of glue gun

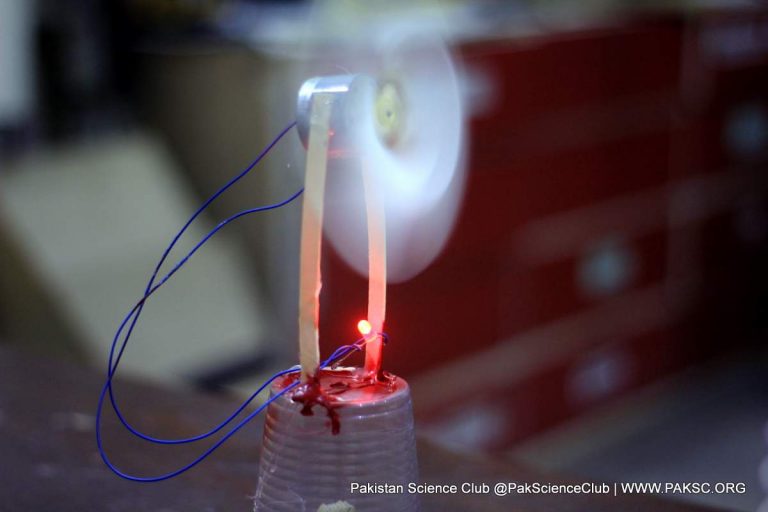
Step 7: Connect the propeller
Push the propeller onto the shaft of the motor.
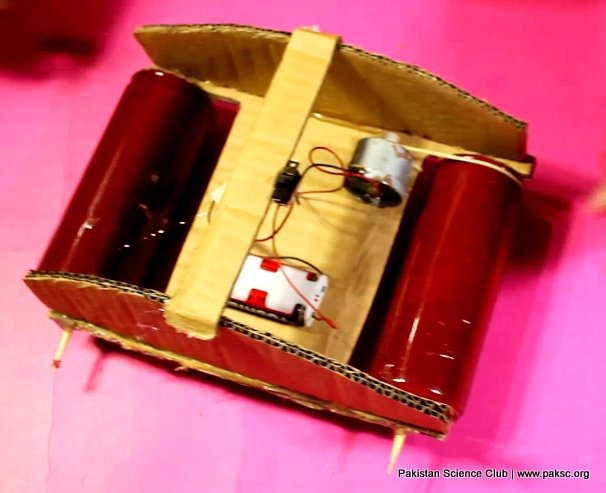
Step 8: Wiring and Testing
Connect the battery holder, motor, and switch in series. Now your air propeller car is ready to test