Electrolysis of water experiment
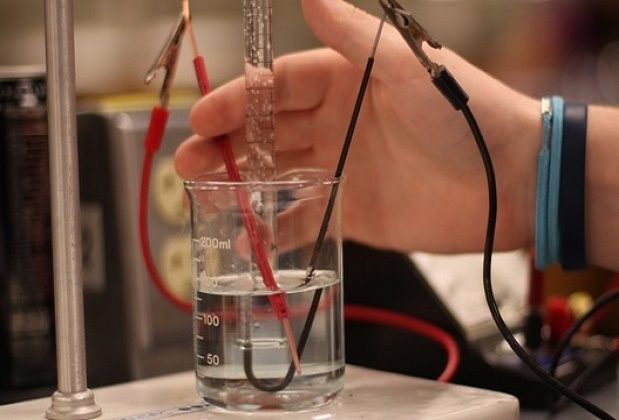
Electrolysis of water is the decomposition of water (H2O) into oxygen (O2) and hydrogen gas (H2) due to an electric current being passed through the water.
Material & Tools for electrolysis of water experiment
20ml Plastic syringe,10mL Plastic syringe (2),Infusion tube, Empty plastic Bottle, Connecting Wire, Super Glue, Colored NaOH Solution,8cm long Nail(2),Yogurt Container ,Cutter Knife, Plastic Straw,9VBattery,Paper Clip(2),Spirit Lamp, Match Box, Permanent Marker
Procedure
- Cut plastic bottle to make a beaker using a cutter.
- Make two points at the bottom of the beaker using a permanent marker.
- Heat two nails and insert them on the marked points of the beaker.
- Put the Glue around the nail from outside of the beaker to avoid leakage.
- Cut the nozzle of each 10ml syringe using the Cutter.
- Join two 10ml stringer by heating their brims.
- Cut the infusion tube into two pieces of 10cm length.
- Attach a tube on the top of each syringe.
- Cut two squares on the opposite sides of the container to make a stand for the electrolytic beaker.
- Put the electrolytic beaker into the beaker stand.
- Pour the colored NaOH solution in the electrolytic beaker on the stand.
- Fill each Syringe with the NaOH solution by sucking through 20ml syringe.
- Pitch the tube using a paper clip
- Attach red and black crocodile clip to the nail electrodes.
- Attach the other ends of crocodile clip to the 9v battery.
- Electrolysis of water has started!
After 30 minutes
Observe the volume of the gas in each syringe!
- Collect the gas in the syringe acting as cathode, using 20ml syringe and put it in a test tube.
- Suck the gas in the syringe.
- Transfer the gas into a test tube carefully.
- Popping sound of hydrogen Gas is produced!
Watch Video of electrolysis of water experiment


