How to make worm robot
In this project, we will learn how to make a worm robot using basic techniques. This project is great for a maker space or mechanical engineering challenge at school, library or home.
Once you learn the basics, you can experiment with different body styles and designs to make your robot faster. You can also set up a competition between friends to see who can build the fastest worm robot. Make STEM education fun!
Materials Needed
The good thing about this project is that you can get most of your “robot” parts from the trash. You can use recycle bottles, ice cream sticks and many trash items to create the body of your worm robot. Get creative!
For this project, you will also need the following materials:
- Bottle caps
- DC gear motor
- Battery
- Switch
- cardboard
- Battery connecter
- Tongue depressors/ice cream sticks
- Kabab sticks
- Round sticks
- Screw with bolt
- wheel

Glue gun
Knife cutter
Pen cutter
Step 1: Robot Body
First you have to cut down the cardboard according to the given dimension as given below

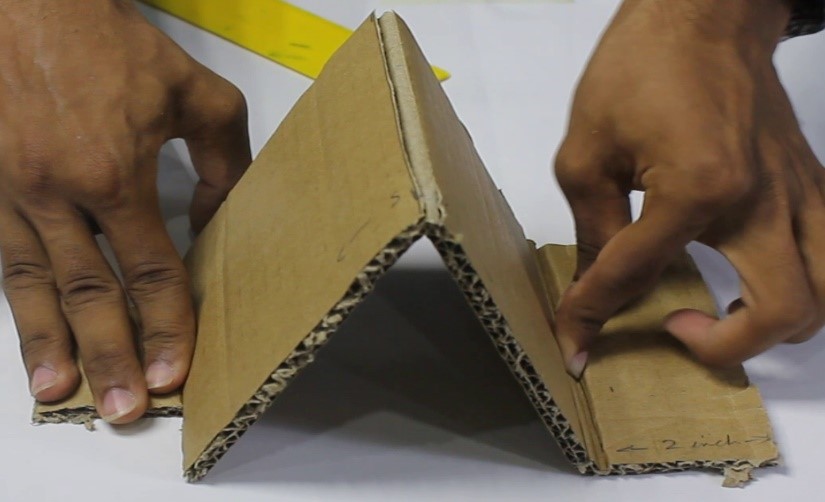
Make a rectangle of of 2.5 inch length, 0.5 inch of width


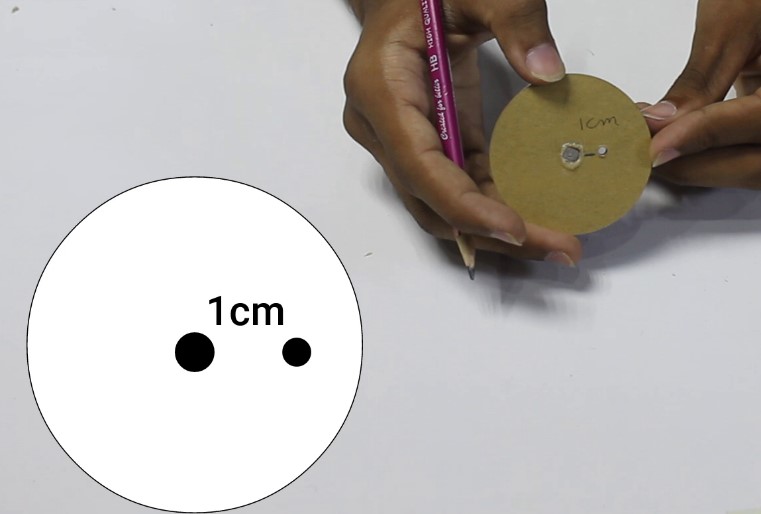
Make the two wholes in a wheel both 1cm away from each other just like as shown in the given figure


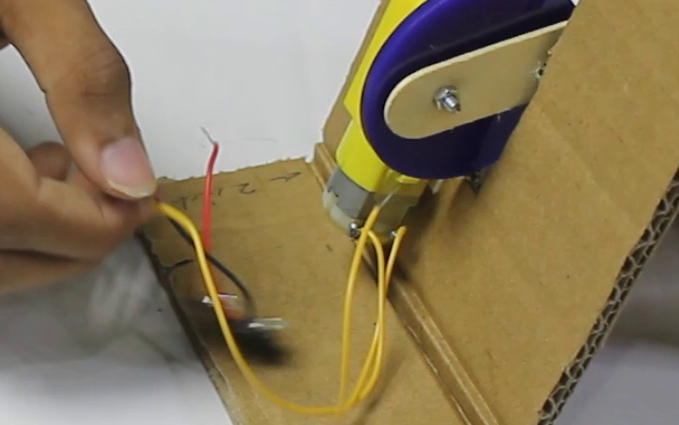
Now it’s time to mount the wheels on the axle of the propeller car. If the cap is a little loose, you will need to add hot glue to the middle. Make sure the wheels are kept as straight as possible while the glue is hardening

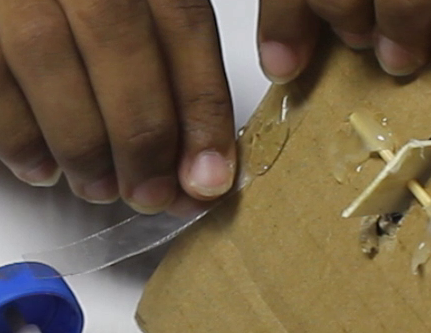
Attach the plastic strip on the body of the robot due to this plastic the robot only move in forward direction
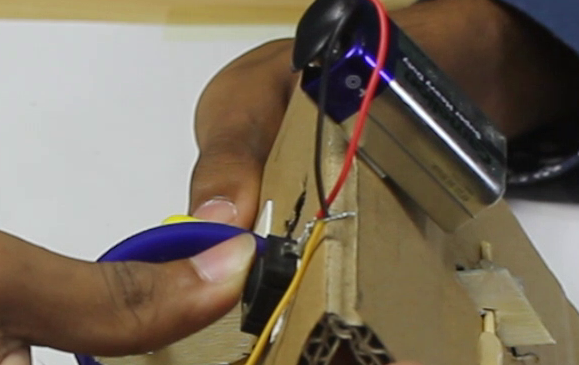
Attach the switch, battery and motor in series connection
Now your worm robot is ready test you can test it on the smooth surface