Do it yourself DIY Science project Radio-frequency identification RFID Door Lock
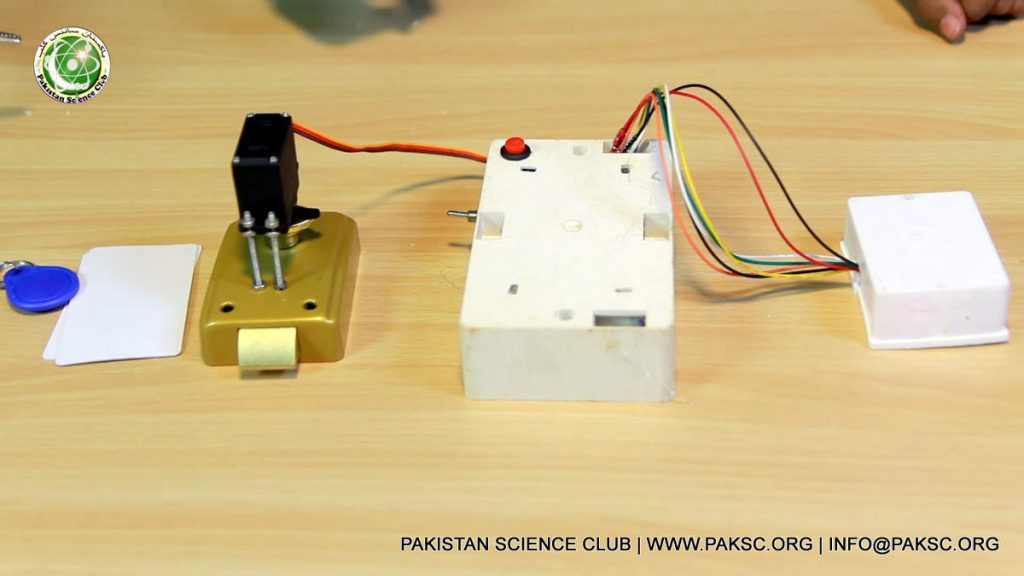
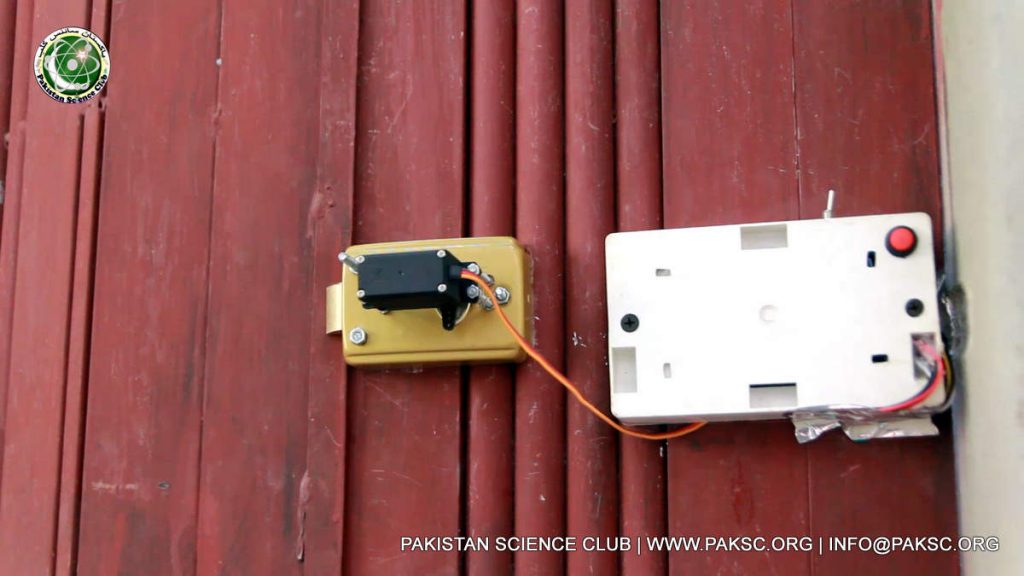
In this tutorial, we will make the door lock with an Arduino based RFID door lock. You can watch the following video or read the written tutorial below for more details.
Whats is RFID?
Radio-frequency identification uses electromagnetic fields to automatically identify and track tags attached to objects. An RFID tag consists of a tiny radio transponder; a radio receiver and transmitter. Wikipedia
Required components
- Manual Door lock
- Arduino UNO
- RFID Module RC522
- RFID card
- Plastic box
- Servo Motor
- 2 battery 3.7 volt
- Adaptor 9 volt
- Piezo buzzer
- Toggle switch
- Female DC Power Jack
Construction:
1st step: Attachment of servo motor with lock


2nd Step Arduino - Code and Assembly
Here are schematics diagram of Arduino and module make its connection accordingly
After all connection upload following code in Arduino


See Also
Arduino Tutorial Urdu: Arduino Course for Beginners and advanced
Build Automatic Night Light Control or Switch using Arduino
Water level Indicator using arduino


