Introduction
Motors are the fundamental driving force of the modern world. It is a very rare occasion when you do not see or use the
action of a motor during your daily life. So how do they work? With this activity, you will build your own simple DC motor.

Materials
Battery, 9-V Pliers, needle-nose with wire cutters
Battery clips with alligator clip leads, 9-V Sandpaper strip
Copper wire pieces, 16–28 gauge, 7–8 cm, 2 Polystyrene foam or cardboard piece, 8 cm × 8 cm × 2.5 cm
Magnet, ceramic disc Tube or rod, approximately 2 cm in diameter
Magnet wire, 20–22 gauge, 60 cm
Procedure
1. Obtain 60 cm of magnet wire and a tube or rod approximately 2 cm in diameter (such as a pen, PVC pipe, battery, etc.)
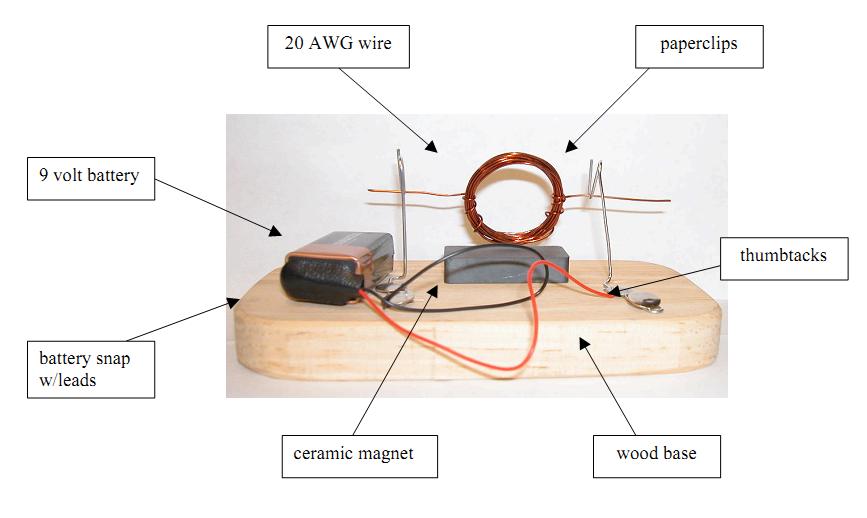
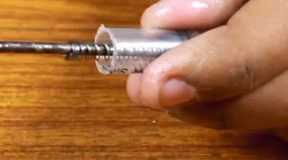
2. Tightly wind the magnet wire around the tube or rod to create a thinly-coiled loop. Wind completely (approximately 15–20 coils) and leave 2–3 cm of free wire at both ends. The two free ends of the wire should be 180° apart when the winding is complete.
3. Carefully pull the coil off the tube or rod.
4. To secure the loop shape permanently, wrap each free end through the loop and around the coil of wire 2 to 3 times. Make
sure the binding loops are 180° apart and wrapped tightly around the coil wires. Straighten the free ends so that they are
perpendicular to, but in the same plane, as the coil to serve as the axle to the coil armature
5. Check the balance of the coil armature by spinning the coil by the axles between your thumb and index fingers. Make sure the coil spins smoothly.
6. Obtain a small piece of sandpaper. Hold the coil at the edge of a table so the coil is straight up and down and one of the free ends is lying flat on the table. With the sandpaper, sand off the top half of the insulating enamel. Leave the bottom half of the enamel intact. Do the same to the other free end. make sure the shiny bare copper side faces up on both ends
7. Obtain two 7–8 cm long pieces of 16–18 gauge copper wire (uninsulated).
8. Use needle-nose pliers to make a small, complete loop at one end of each piece of copper wire. If necessary, use the needle-nose pliers to straighten the copper wires as well
9. Obtain an 8 cm × 8 cm polystyrene foam block or thick cardboard piece.
10. Stick the copper wire posts into the polystyrene foam block so that the loops are approximately 5 cm apart and about 3 cm above the polystyrene foam surface.
11. Place the coil armature axles into the loops in the copper wire posts. The axle of the coil armature should be parallel to the polystyrene foam surface and the armature should be balanced and spin freely
12. Place the ceramic magnet beneath the coil armature.
13. Connect alligator connector cords to the base of the copper wire posts. Connect the other ends to a 9-V battery.
14. To start the DC motor, give the coil armature a slight spin. If it does not begin to spin continuously, give the motor a spin in the opposite direction. If it still does not spin continuously see Tips section.


