Make Your Own DIY Solar Lantern
Introduction
A fun-filled exciting DIY project to explore solar energy, the students will understand how they can use sunlight to make a lantern and benefit themselves during electricity shutdown.
What is Solar Lantern? or Rechargeable Solar Light?
Solar Lantern is an interesting hands-on activity to learn about renewable energy sources, solar panels, its working, and applications for the household.
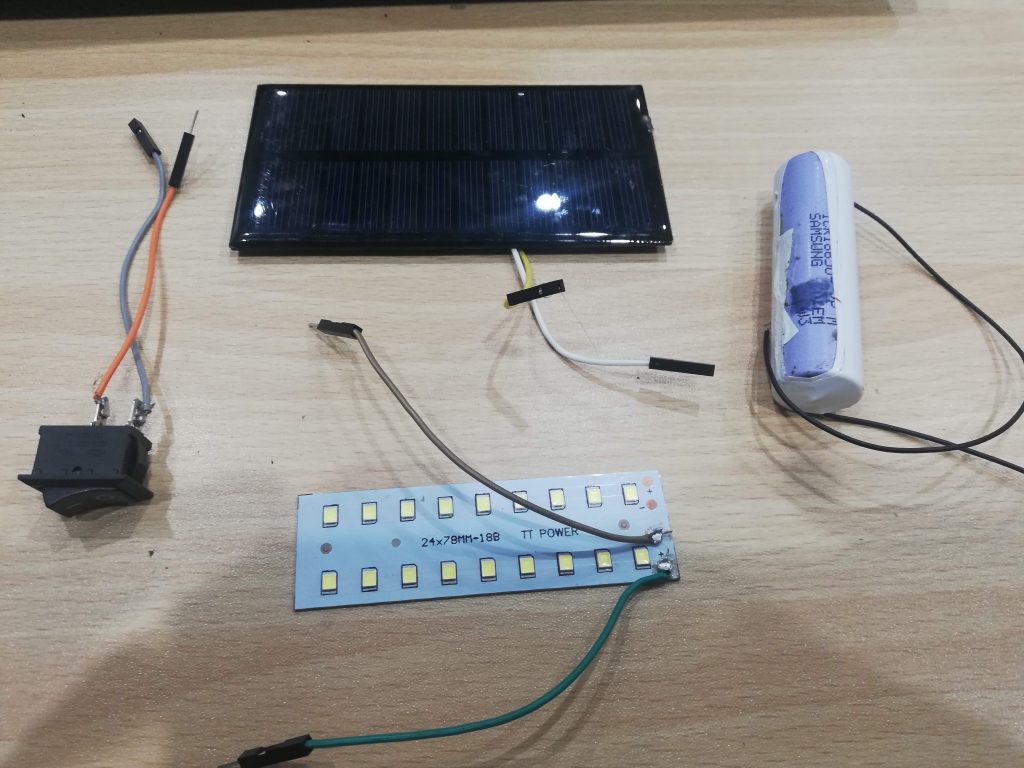
Material and Tools required for making Solar Lantern
- 1-watt small Solar Panel
- Cardboard sheet 1 ft square
- 3.7-volt rechargeable cell
- Small LED panel
- Connecting wire (2 ft)
- Switch
- Template for box making
- Scissors
- Box knife
- Soldering iron
- Hot Glue gun
- Tape
- Multi-meter
How to make Solar Lantern?
- Using cardboard, make the hollow box/frame leaving both sides open according to the template.
- Cut two triangular sides (given in template) and keep aside for later use.
- Cut 8 pieces of connecting wire each 3 inches long
- Join the pieces of wire with terminals of Solar panel, LED panel, switch and Battery cell (2 pieces each) by soldering
- If terminals are not mentioned on battery cell, use a multi-meter to check the positive and negative terminal of the battery cell.
- Put the dial of the multimeter on 20V
- Connect the probes of the multimeter to the wires of the battery cell
- If the reading shown is negative then swap the probes
- Upon positive reading, note that to which red probe of the meter is connecting is positive and the other is negative (with black probe).
- For checking the Solar panel, take readings in sunlight.
- Mark the positive and negative terminal on each wire separately by tagging with tape or paper
- Make two holes for passing wires of the solar panel at the center of one side of the box (holes must be apart to each other such that of solar panel)
- Pass the wires of the solar panel through the holes and fix them on the frame wall with a glue gun.
- Similarly, make a hole for the LED panel on the other side and fix it.
- Above the panel, make a slot for the switch and glue it.


Circuit making of Solar Lantern
- Connect the positive terminal of the battery and LED panel with the positive end of the solar panel altogether.
- With the negative terminal of the LED panel, connect any terminal of the switch.
- Join the other end of the switch, negative terminal of both Battery and solar panel together.
- Make sure you make all connections correctly as wrong ones can damage the components.
- Put the battery cell inside the frame and fix it with hot glue.
- Put all the wires inside the box and join the remaining triangular pieces on both sides.
Watch recorded session of Solar Lantern
Buy Material from Sciencestore.pk

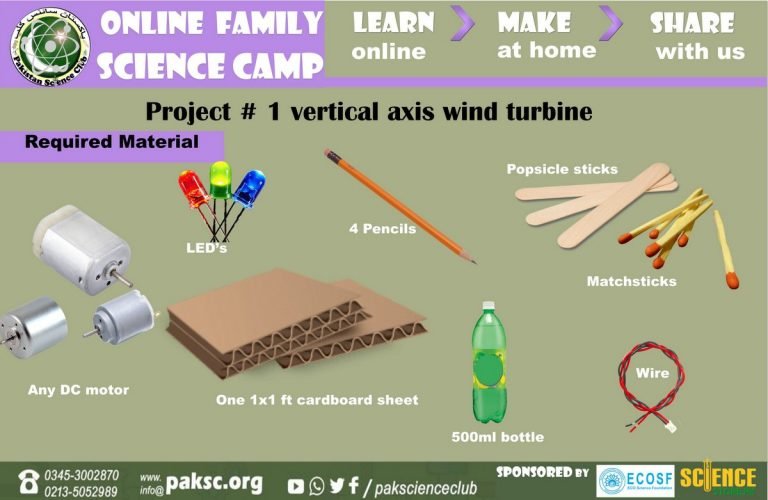
Be A Maker STEM Kit 3.0 is ideal for young scientists age 8+ ‘Be A Maker STEM Kit 3.0 is consists of more than 8 cool projects like a Saltwater battery, Solar oven, Solar lantern, VAWT electricity generator, Water Rocket, hydraulic scissors lift, Gliders, Automatic street light