In this project, you can learn how to make an air pump using basic techniques. This project is great for learning air pressure concept at school, library or home.
Once you will learn the basics, you can experiment with different body styles and designs to make your air pump more powerful. You can also set up a competition between friends to see who can build the most powerful air pump. Make STEM education fun!
Materials Needed
The good thing about this project is that you can get most of your “pump” parts from the trash. You can use many recycle items to create the body of air pump. Get creative!
For this project, you will also need the following materials:
- Large syringe
- 2 valves
- nozzle
drip chamber
Step 1:
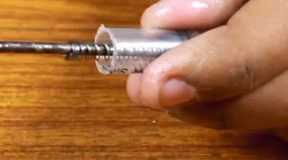
Take the drip chamber and make the whole in it with the help of scissor

Step 2:
First glue the syringe
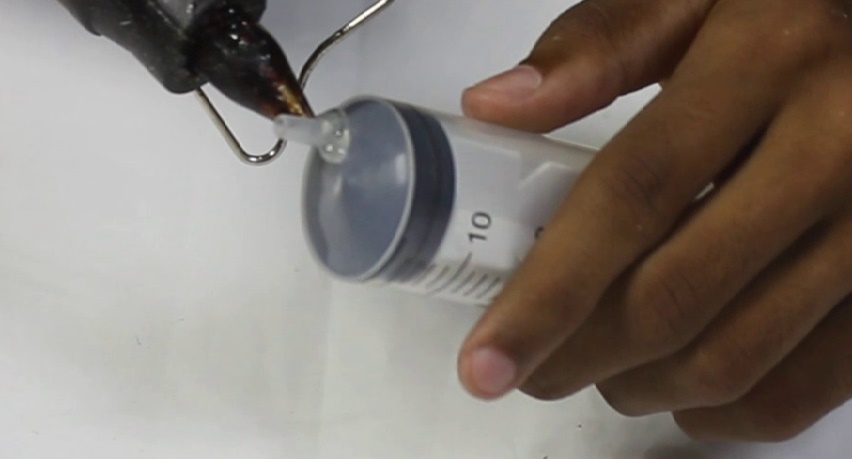
then join the syringe with the drip chamber
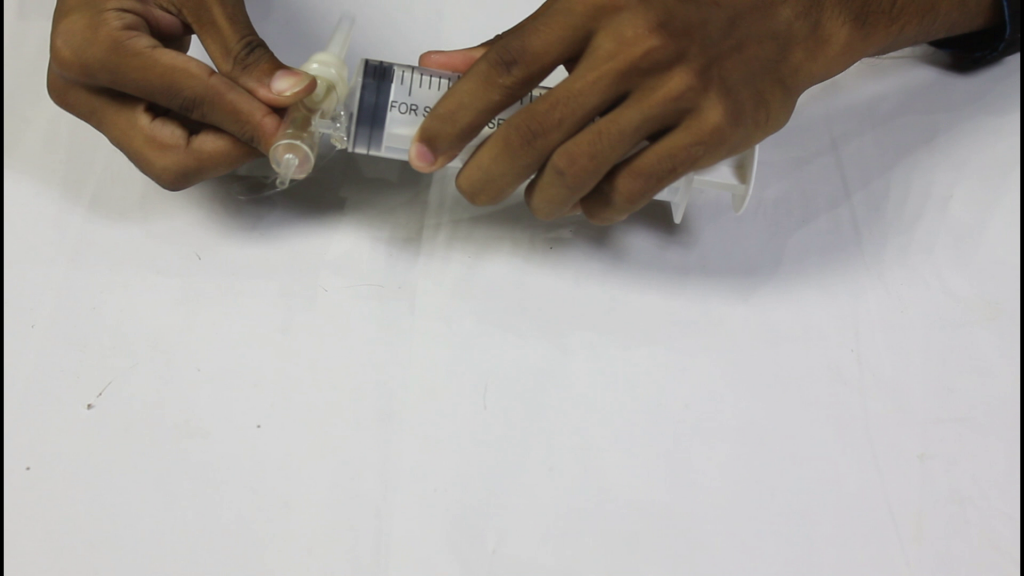
insert the valve into the nozzle

Step 3:
Cut both the end of drip chamber with the help of cutter plier
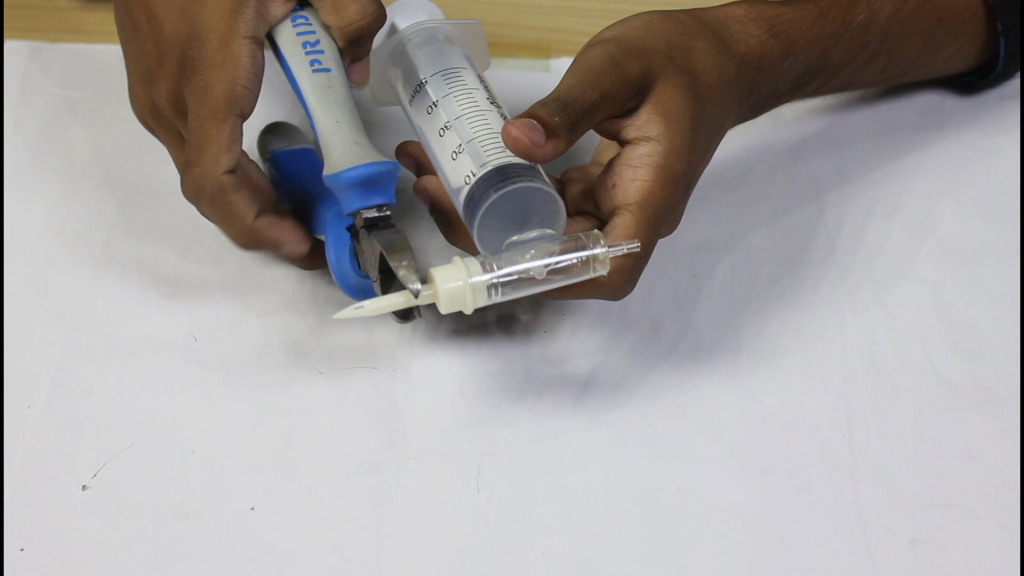
Step 4:
Join nozzle and valve at the one side of drip chamber
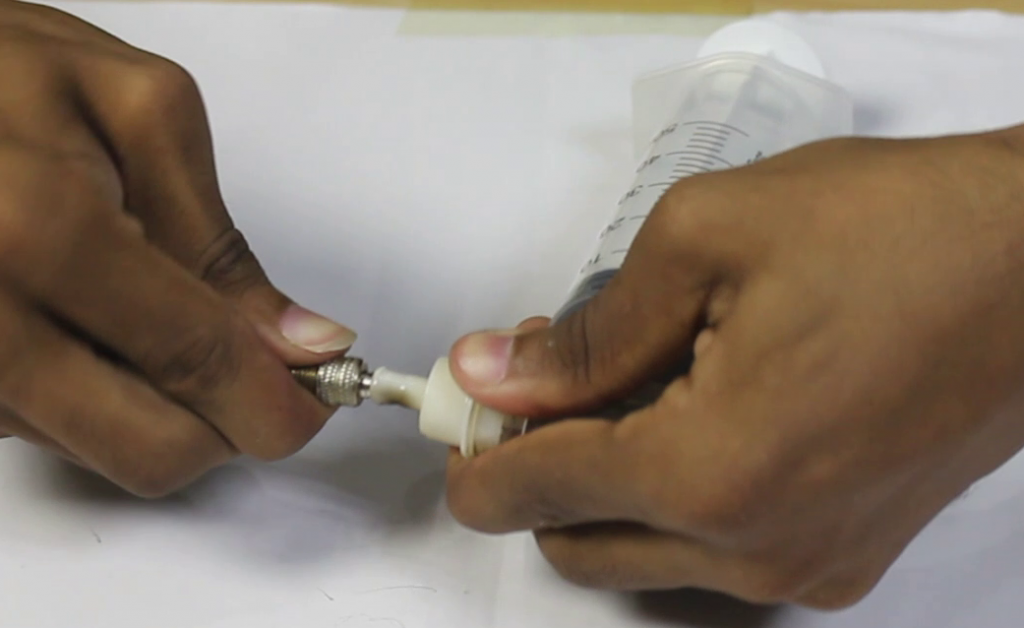
now attach the valve at the another end of drip chamber
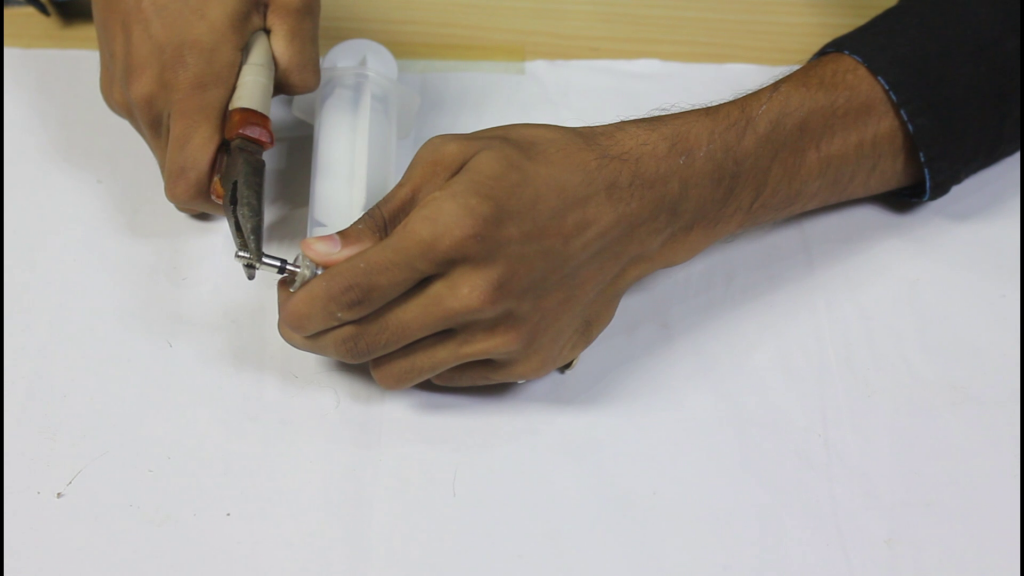
Step 5:
Now your air pump is ready. You can test with balloon

How does it work
In this air pump we attach two valves in it. The valve attach with nozzle is outlet valve and the valve without nozzle is inlet valve they both are attach in opposite direction to each other, so that only one valve is open at one time. When we pull the syringe the outlet valve is closed and the inlet valve is open, it suck air inside the drip chamber. When we push the the syringe the outlet valve is open and the inlet valve is closed, the sucked air transfer into the balloon from the outlet valve. This process is repeat again when we push and pull the syringe.


