Do it Yourself DIY Microscope
In doing the project of making a personalized DIY microscope, children will learn about basic optical instruments, their importance, and their applications in everyday life. Topics that will be covered are light and its properties, optical instruments along principles of optics and light. The participants will have a better understanding of design and making, hands-on expertise, team building, and presentation.
Material
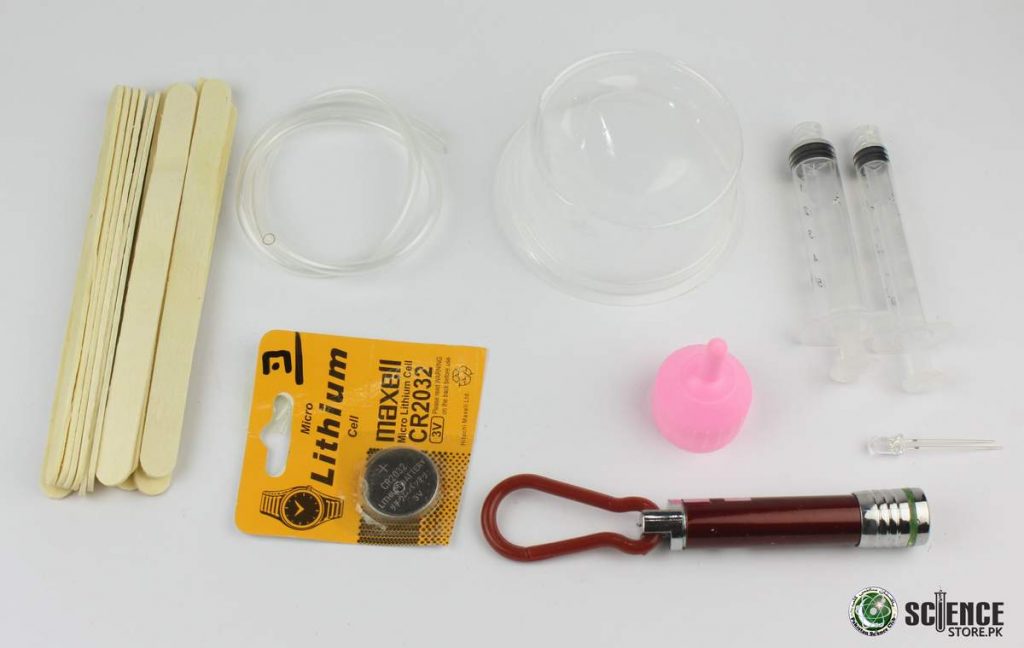
- Laserlight
- Coin cell
- Popsicle sticks
- Syringes
- pipe
- plastic cup
- bottle cape
- LED
- Cardboard
Other things: Smartphone
Note: DIY Microscope Kit available at sciencestore.pk DIY Microscope Kit
Steps by Step Construction of DIY Microscope
Making of Stand
- Take a piece of cardboard that should be at least 9×6 inches (rectangle).
- Trace the outline of your smartphone/mobile on a cardboard piece, there should be approximately 3-4 inches extra on each side to make the base.
- On the mobile outline make a stand of popsicle sticks, make sure that your sticks are aligned in a perfect shape, and able to hold the mobile without shaking.
- If required, provide extra support to your stand by joining more popsicle sticks in cross fashion as shown below,
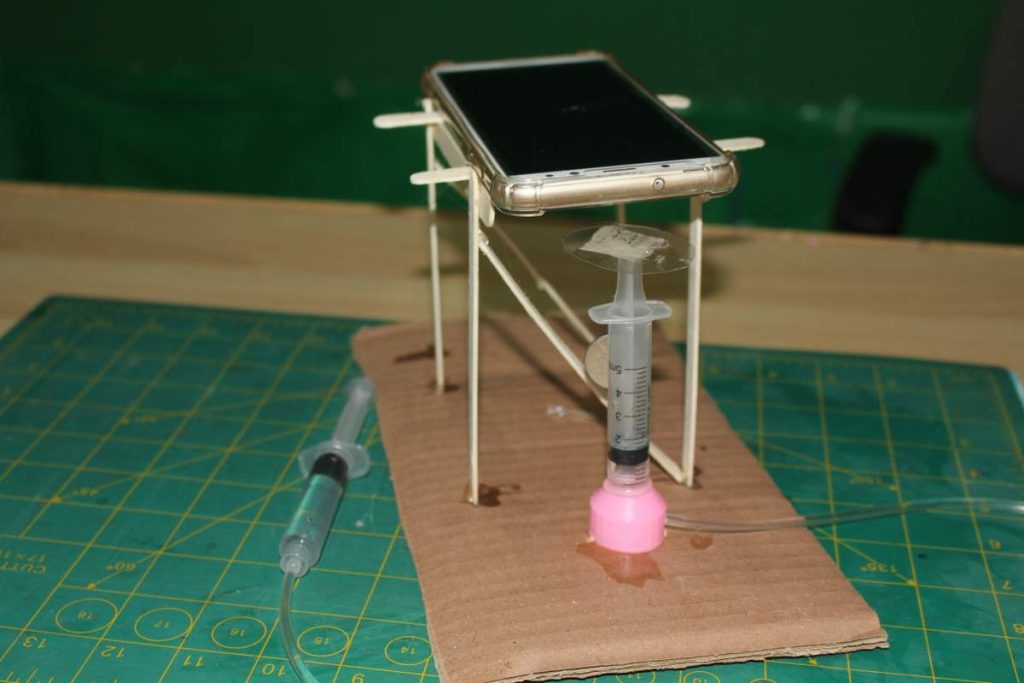
Construction of hydraulic focus mechanism
- Now, cut the upper part of the pink cap with the help of pliers, make the hole big enough so that a large syringe i.e., 5ml gets fix into it easily as shown.
- Slightly heat the drip pipe end and fix it to the 5ml syringe, take out the pipe from the hole of the pink cap and fix the syringe to the hole of the cap (adult supervision may be required for the step).
- Cut a small portion of the cap from a side such that the pipe can pass through it easily.
- Take the transparent container and cut a flat piece of 1×2 inches and stick it to the plunger of the syringe using hot glue from one end as in the figure.
- With the other end of the pipe in water, fill the syringe by pushing and pulling it 4-5 times.
- Fix the smaller syringe to open the end of the pipe.
- Stick the setup next to the stand with a slight gap.
- With hot glue, fix the coin battery to the vertical syringe in a way that it could be used to light up the LED.
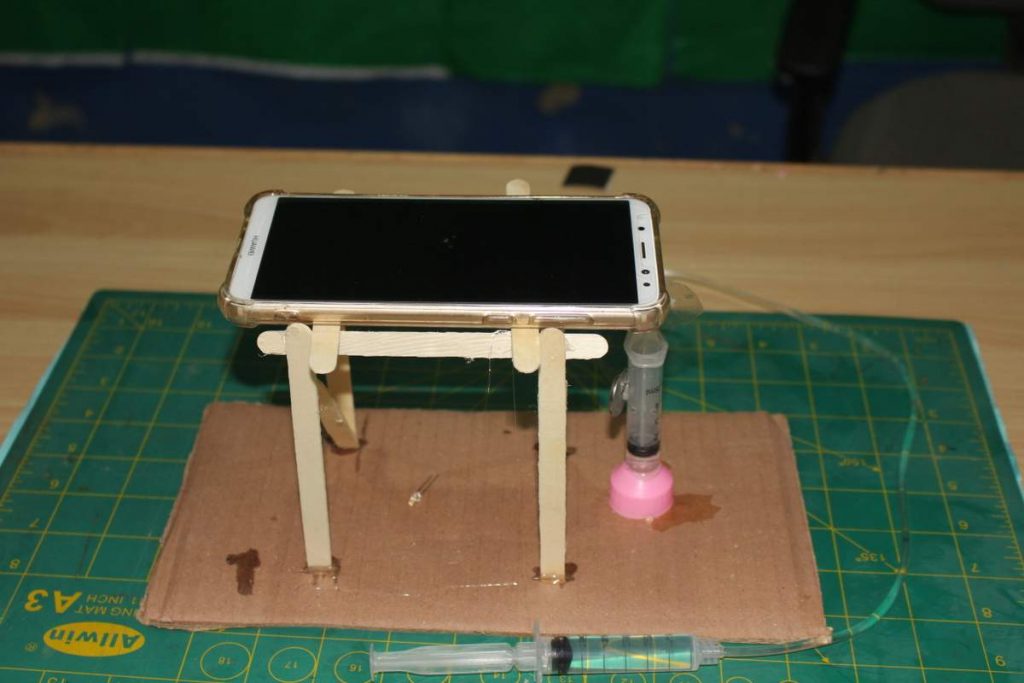
Fixing of lens
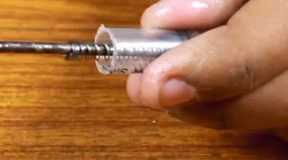
- Now pull out the outer parts of laser light provided in the kit with plier as shown below, remove the black screw thing and carefully take out the small lens.
- With a small piece of scotch tape, stick the lens with its flat side facing towards the mobile to the main camera lens of the mobile.
- Place the mobile on the stand such that the camera lens combination is right on the top of the clear platform with an LED light spot.
Your DIY microscope is now ready, but any small object like a leaf, hair, woolen thread, etc. on the platform, adjust the focus with a hydraulic system and observe your object and its characteristics under a microscope.
See also:
How To make Slime Making | DIY Simple Slime Make at Home
8 DIY Science Exhibition Projects
DIY Science Project: How to Make Solenoid Engine
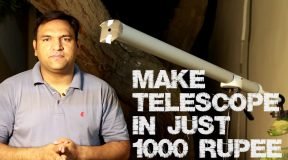
How to Make DIY Periscope with Step by Step instructions
AC Generator, Simple DIY project with Step by Step instructions